Installation & Update
This section provides instructions for installing and updating Qbitec for Revit on a PC. It also includes advanced guidance for administrators on performing a silent or converter-only installation, as well as configuring firewall and proxy settings for proper operation.
- Hardware Requirements
- Installing the Qbitec for Revit Plugin
- Installing Updates
- Advanced Installation Topics
Hardware Requirements
Hardware Requirements
Qbitec for Revit is aligned with the recommended system requirements of Autodesk Revit .
Qbitec for Revit should run smoothly on all mid-range systems. For converting very large point clouds, a fast, high-capacity local or USB SSD is recommended. In general, the hardware requirements are significantly lower than those required for native point cloud support.
If the Qbitec for Revit Plugin is used inside a virtual machine / environment ensure that a dedicated DirectX 11 or higher compatible graphics card with at least Shader Model 5 support is available (software emulation might be too slow to work).
Installing the Qbitec for Revit Plugin
Download and Installation
The installer for the latest version of the Qbitec for Revit plugin can be downloaded from the following location:
Qbitec for Revit Download Area
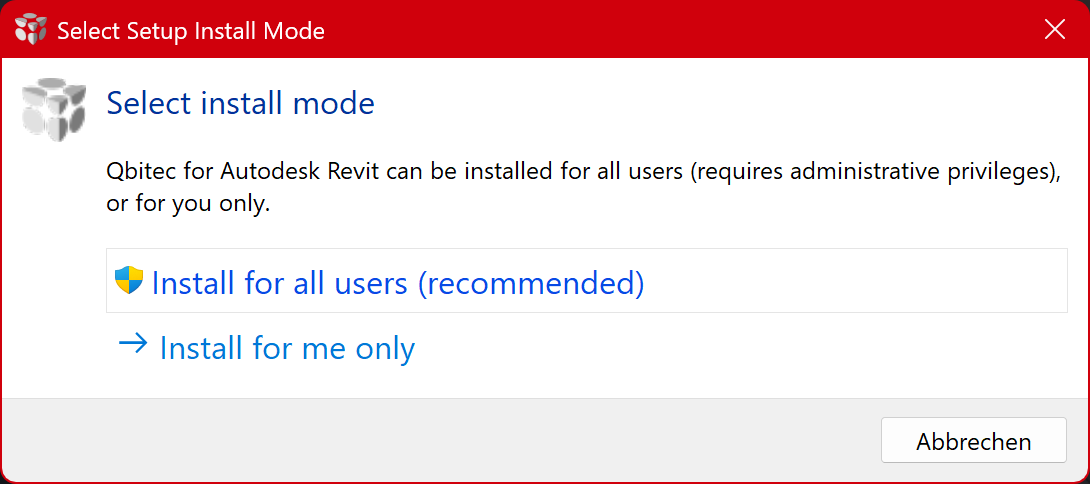
Before launching the installer, make sure all instances of Revit are closed. Then, launch the installer and select whether to install the plugin for the currently logged-in Windows user or for all users on the system.
Installing the plugin for all users requires administrative privileges and is the recommended deployment method.
Installation for the current user only is also supported. This option may be appropriate for evaluation or testing scenarios, where the software is intended for use by a single user without affecting other user accounts on the machine.
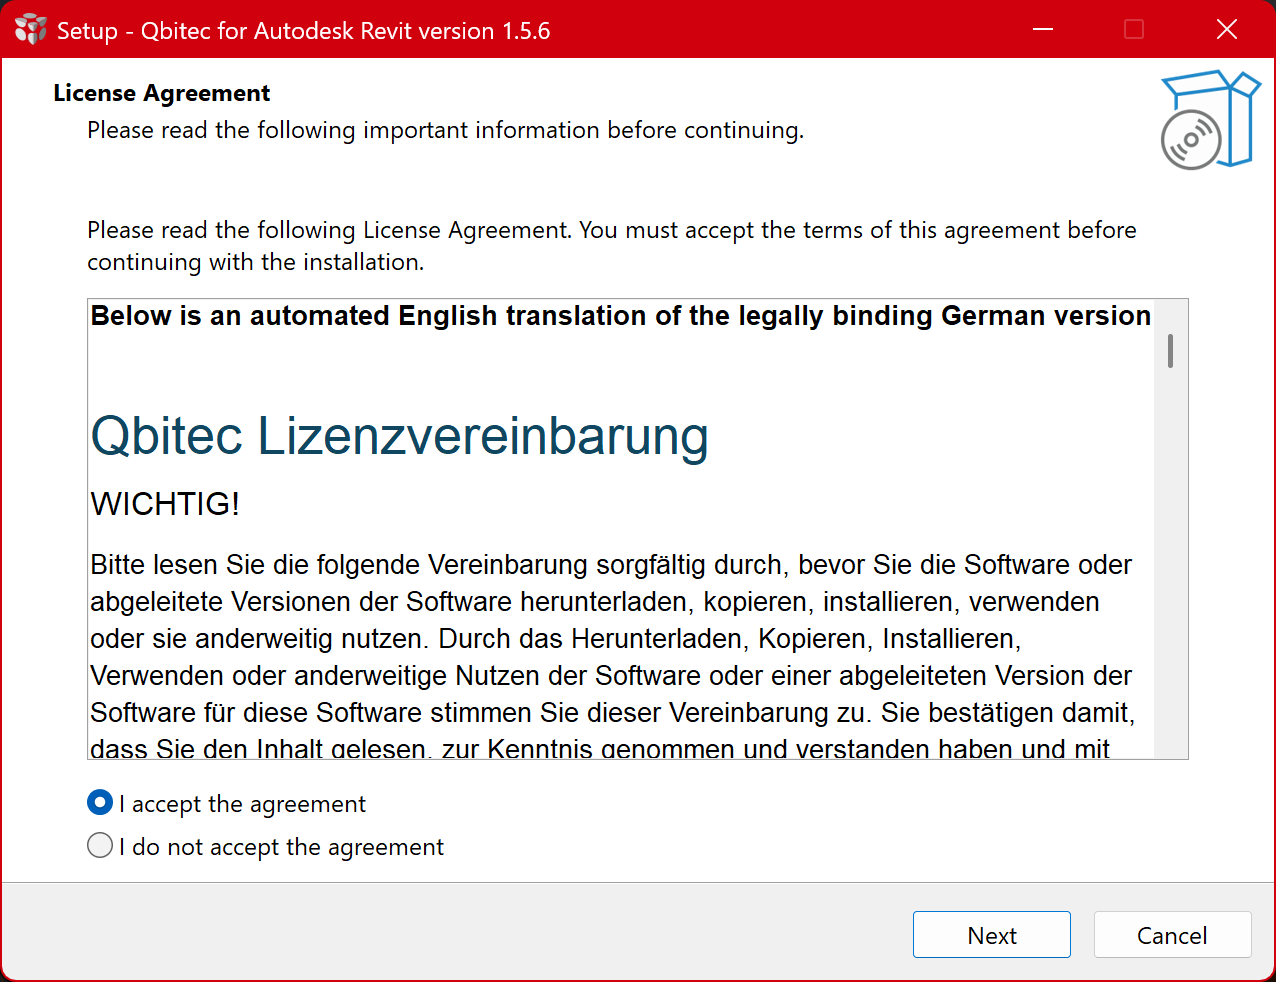
On the next page you have to accept our license agreement to proceed:
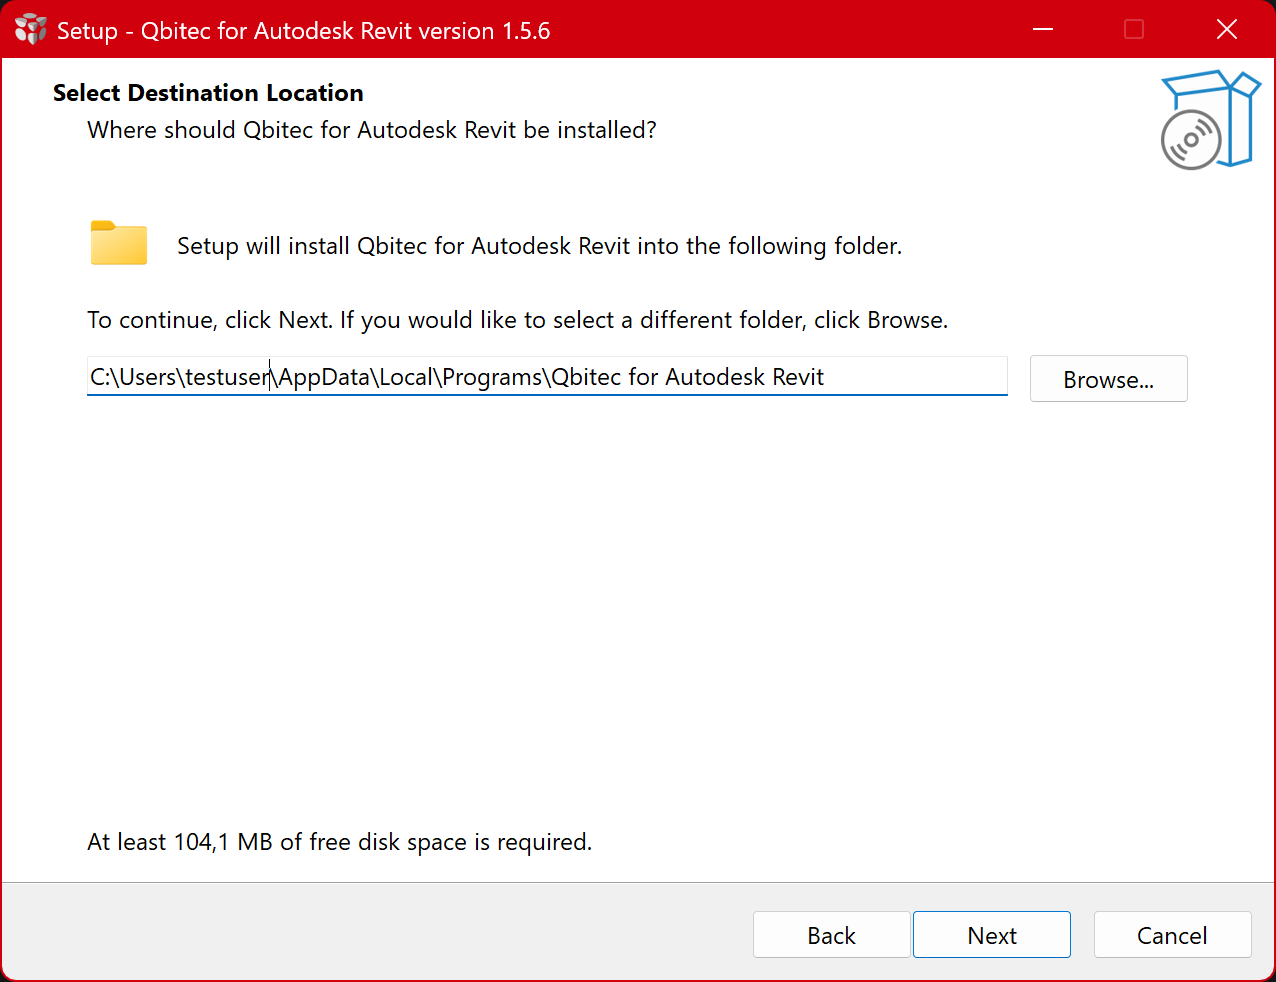
Next, you must select the installation directory for the plugin. In most cases, the automatically suggested path is appropriate and should be used.
The suggested installation path depends on the installation mode previously selected (current user or all users).
If the plugin is already installed, this step will be skipped and the plugin will be updated or reinstalled in the same directory as the existing installation.
If you do not want this behavior, please uninstall the plugin first before installing it again.
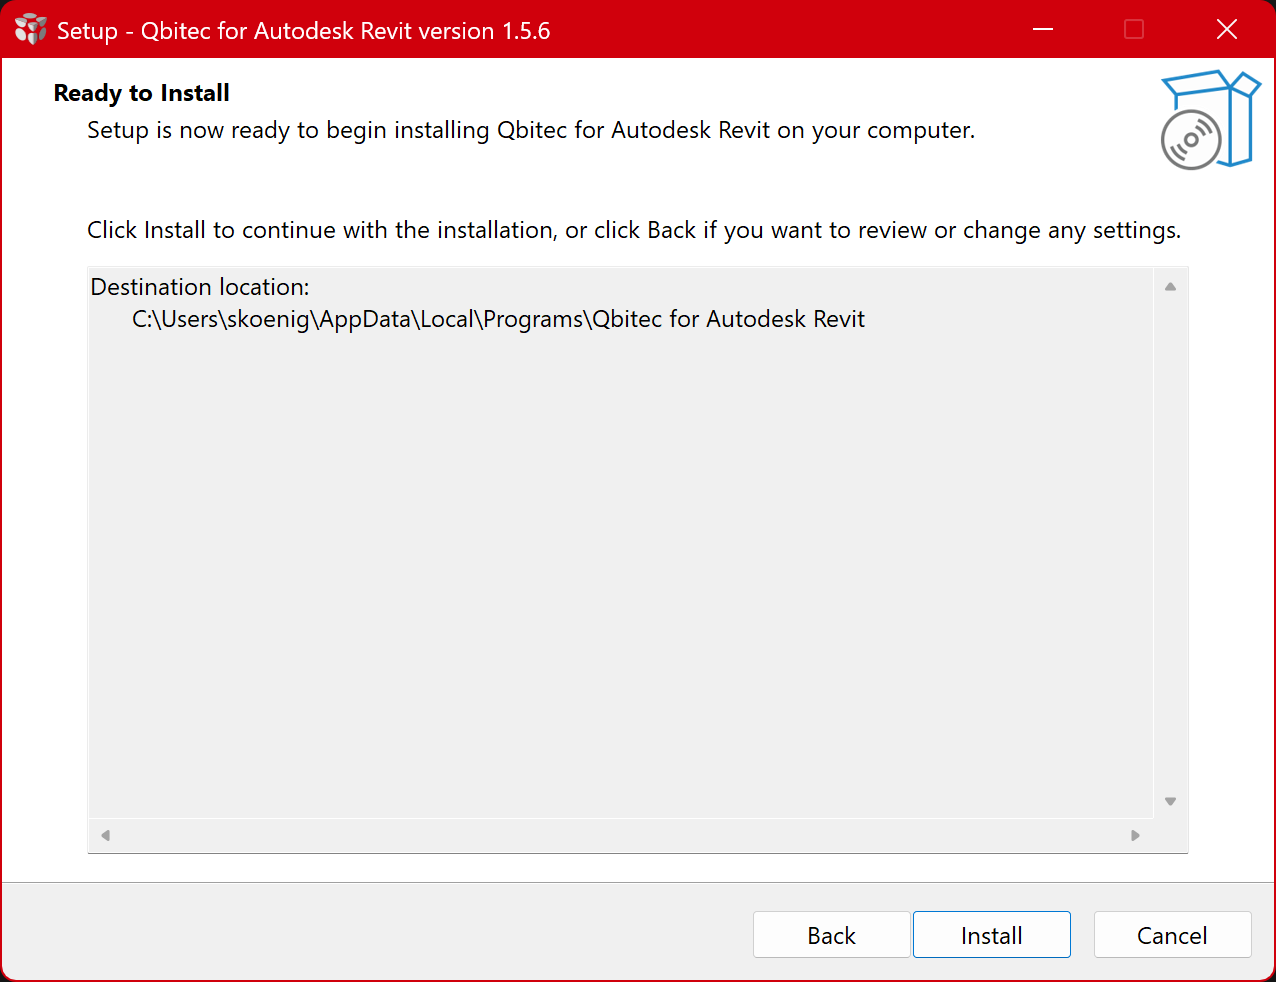
Now you have provided all information for the setup, click the Install button to continue:
Wait for the installation to complete and click on the Finish button:
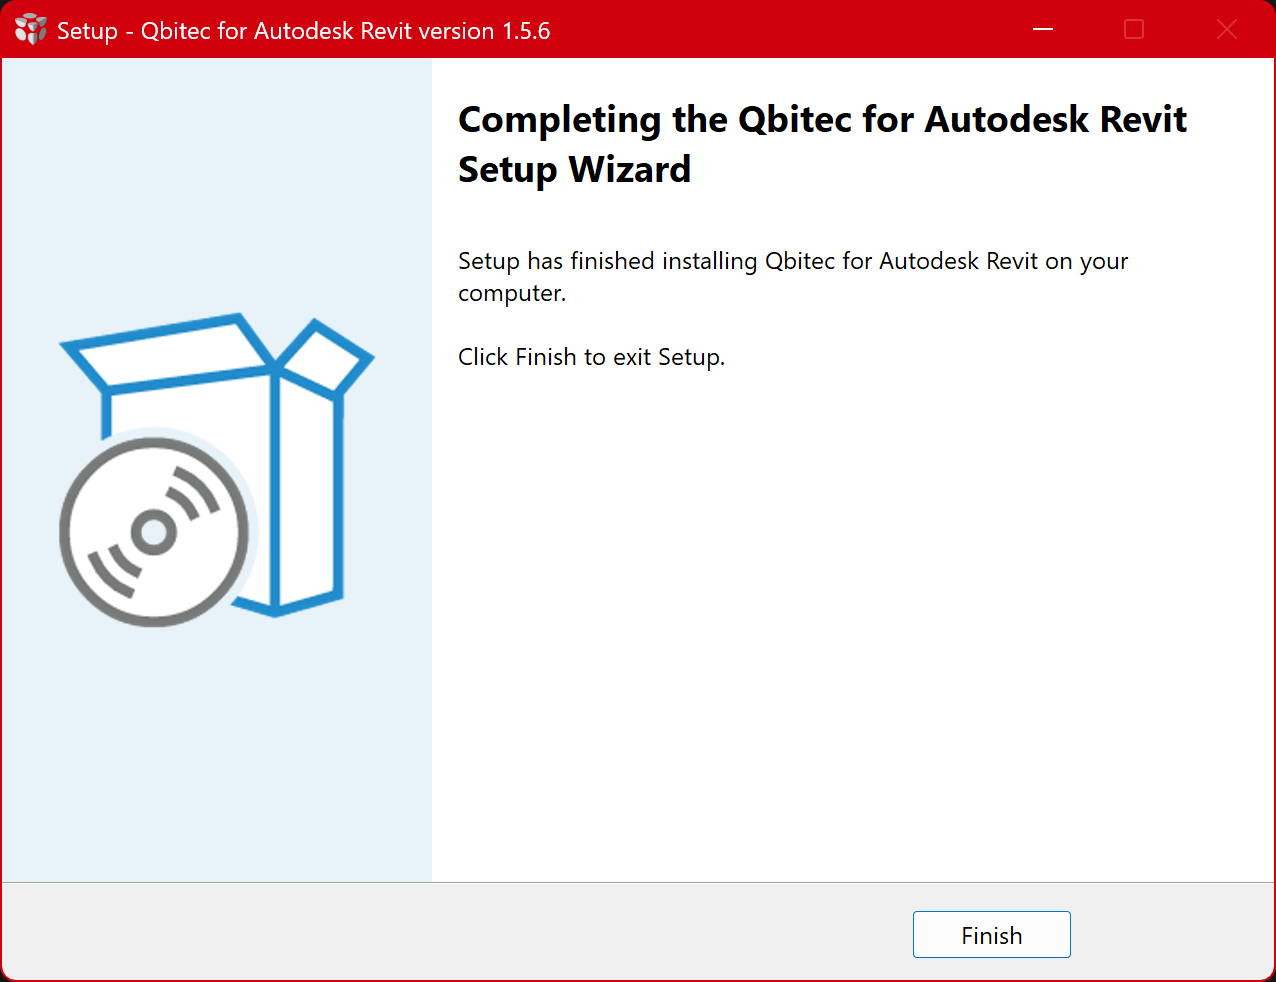
You can now launch Revit and use the plugin.
Installing Updates
Updating the plugin
We continuously add new features and enhance the quality of our plugin. If a red dot appears on the Config/License button in the Qbitec ribbon inside Revit, a newer version of the plugin is available for download.
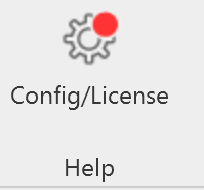
Click on the Config/License button to view more information about the new version. A link to the download location is also provided there.
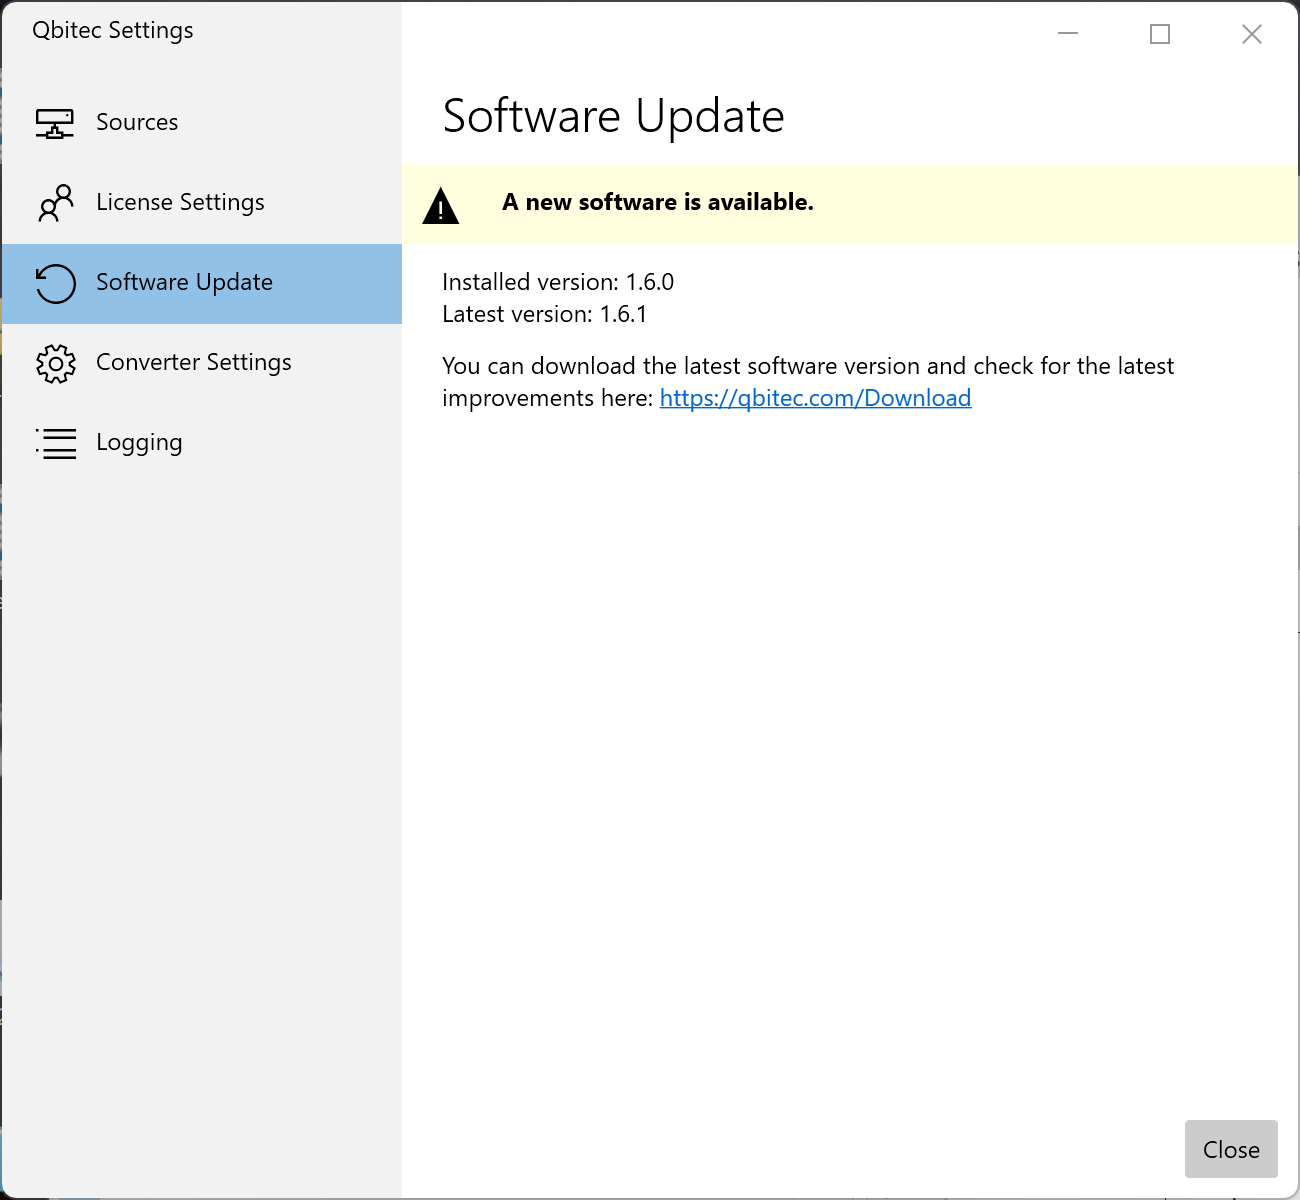
Before installing the newest version, Revit must be closed. The installer will first uninstall the existing version and then install the new one.
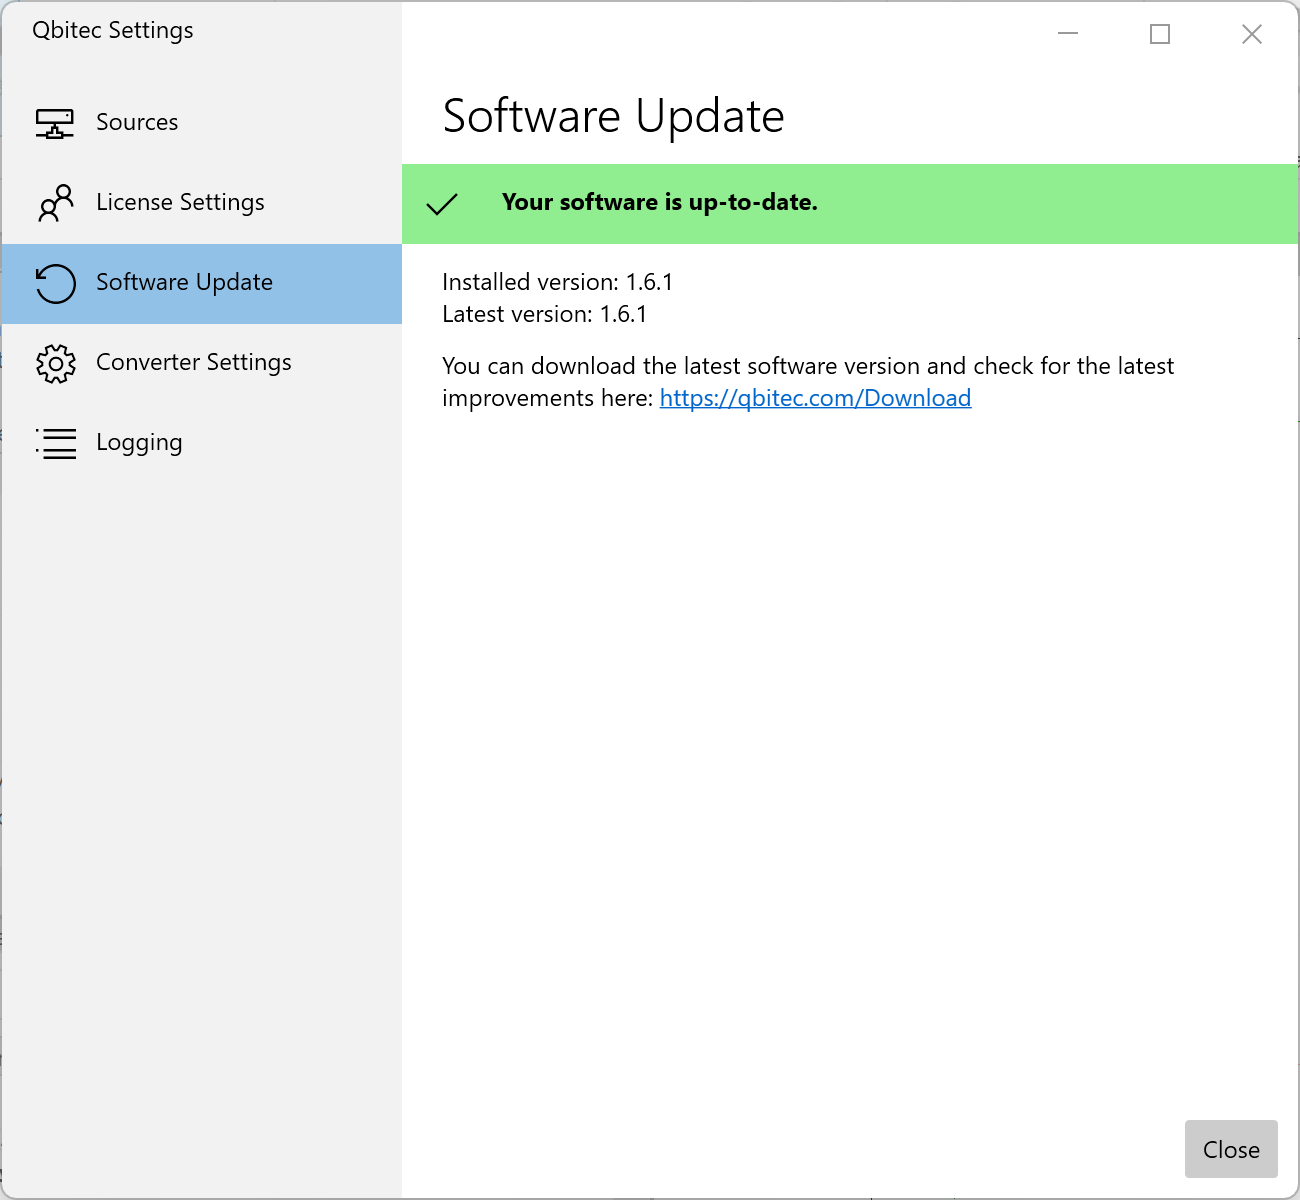
After the installation is complete, the red dot on the Config/License button will disappear, and the Qbitec Settings dialog will confirm that the latest available version is installed.
We make every effort to ensure that our software becomes more reliable, stable, and capable with each new release. However, despite extensive testing, it is possible that a bug may occasionally be introduced, particularly in versions that include significant new functionality.
If you encounter such an issue, please report it to us promptly at support@qbitec.com so that we can investigate and resolve the problem as quickly as possible.
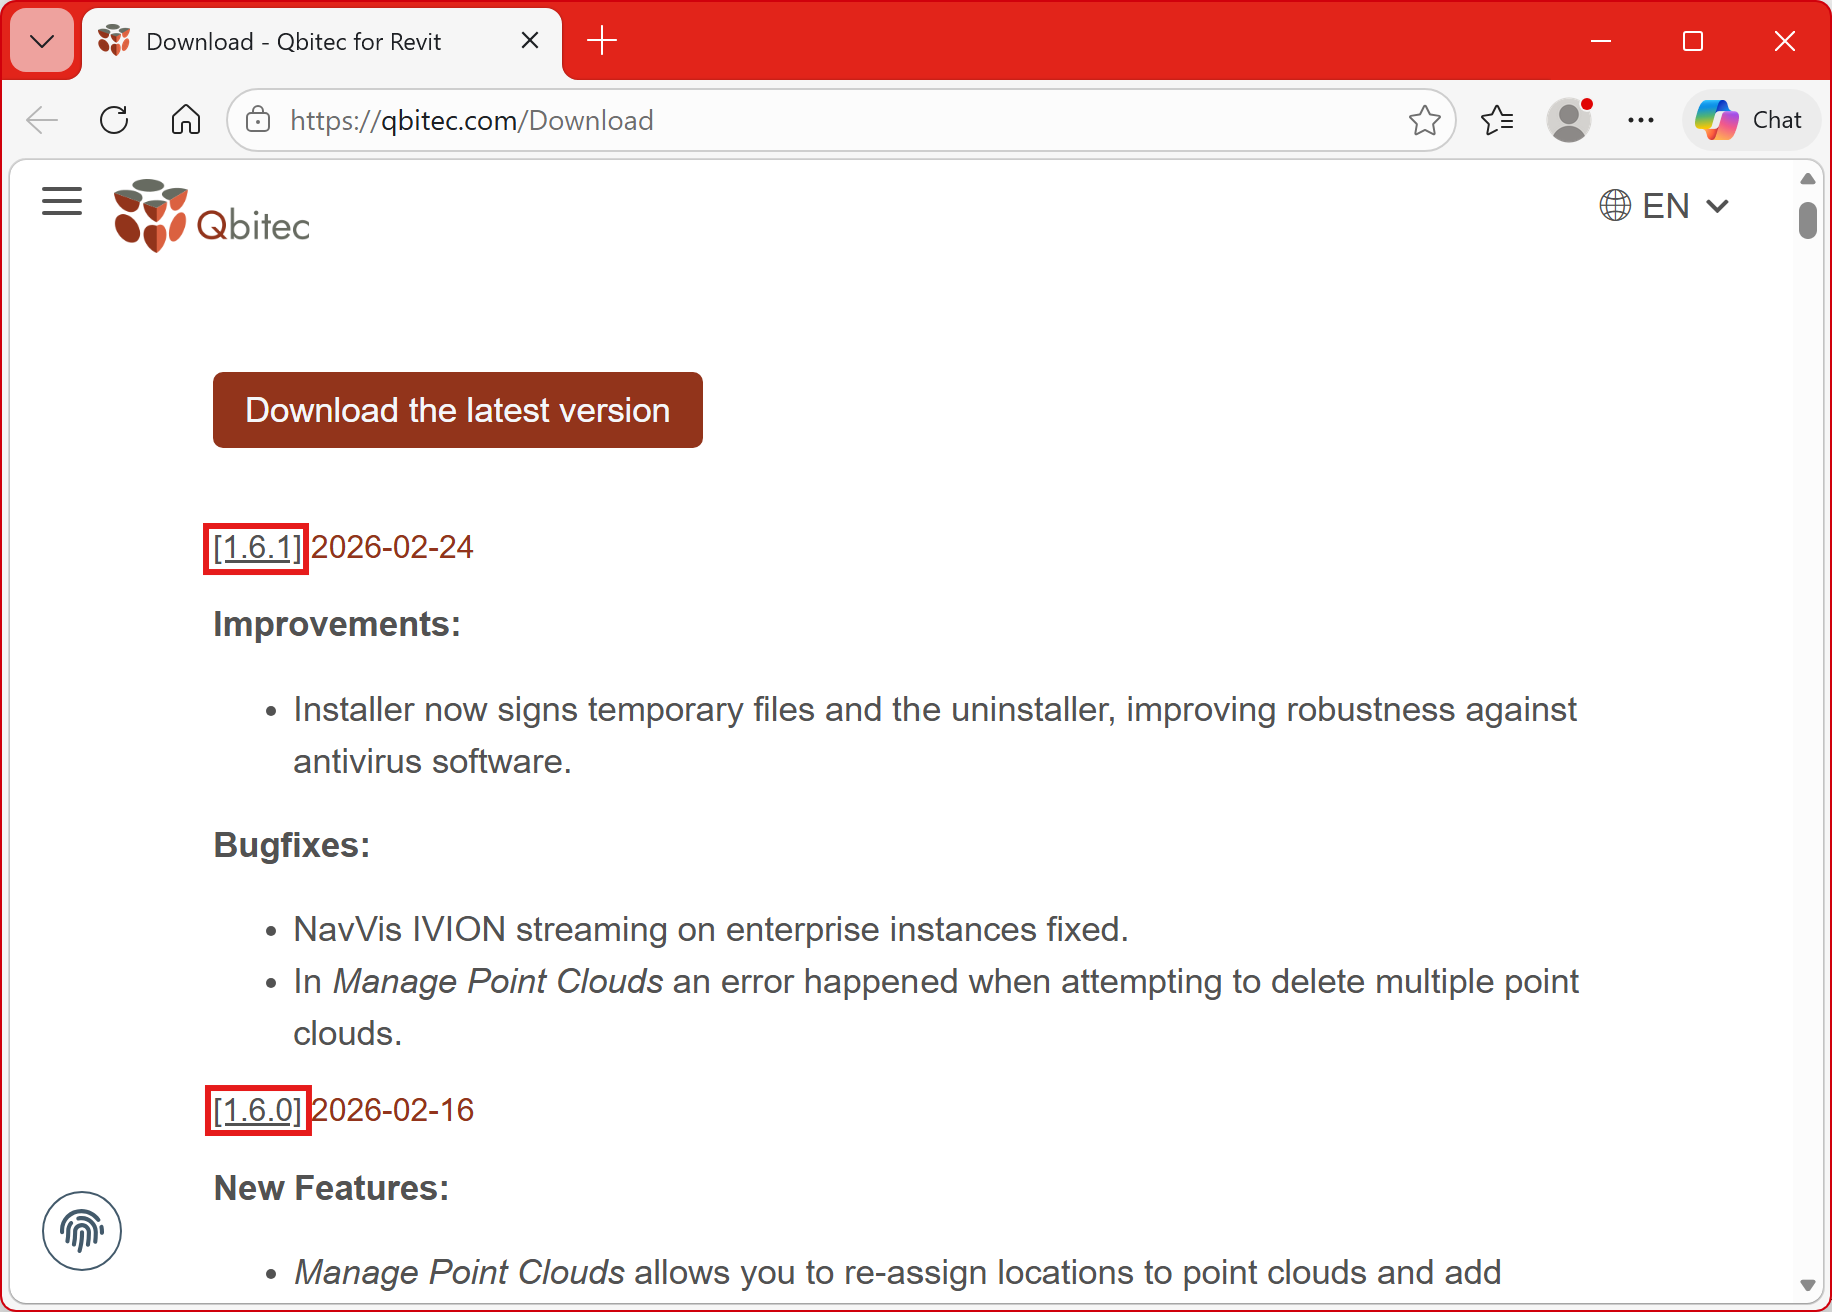
If a rollback to an earlier version becomes necessary, the corresponding installers are also available on our download page. The download link can be found under the respective version number.
Advanced Installation Topics
How to install the point cloud converter as a standalone tool?
-
Download the latest installer executable from here: https://qbitec.com/release/QbitecForRevit/
-
Open a PowerShell terminal (Run as Administrator if required by your system policy).
-
Navigate to the directory containing the downloaded installer:
cd "C:\Path\To\Your\DownloadFolder" - Execute the installer with the following command-line parameter
(replace<version>with the actual version number of the downloaded file):.\qbitecSetup-<version>.exe /ConverterOnly - Follow the instructions of the installer wizard to complete the installation.
How to make a silent installation of the Qbitec for Revit Plugin? (GUI-free installation)
In some environments, administrators need to install software via scripts without any graphical user interface (GUI), for example when deploying the application automatically to multiple PCs.
The installer supports silent installation using the /VERYSILENT command-line option.
Silent installation for all users (requires elevated privileges)
- Download the latest installer executable from here: https://qbitec.com/release/QbitecForRevit/
-
Open a PowerShell terminal with Administrator privileges.
-
Navigate to the directory containing the installer.
cd "C:\Path\To\Your\DownloadFolder" -
Execute the following command
(replace<version>with the actual version number of the downloaded file):.\qbitecSetup-<version>.exe /ALLUSERS /VERYSILENT
This installs the plugin for all users on the system without showing any installer dialogs.
Silent installation for the current user only
- Download the latest installer executable from here: https://qbitec.com/release/QbitecForRevit/
-
Open a normal (non-elevated) PowerShell terminal.
-
Navigate to the directory containing the installer.
cd "C:\Path\To\Your\DownloadFolder" -
Execute the following command (replace
<version>with the actual version number of the downloaded file):.\qbitecSetup-<version>.exe /CURRENTUSER /VERYSILENT
This installs the plugin only for the currently logged-in user without any GUI interaction.
Firewall / Proxy Configuration
Our plugin uses the LicenseSpring service to validate licenses and to check for new versions. Please ensure that communication with the LicenseSpring RestAPI athttps://api.licensespring.com
is not blocked by your firewall and is correctly routed through your proxy server configuration.
In addition, if you want to connect to a NavVis source to stream point clouds and panoramic images directly into Revit, the plugin must be able to communicate with the NavVis IVION Rest API of your IVION instance(s).
Endpoints typically have the following form:https://<instance>.iv.navvis.com/api/
Some NavVis instances may also use pre-signed URLs over the AWS Cloudfront CDN using endpoints of the following form: https://<distribution-domain>.cloudfront.net/
Please verify that you can access your NavVis IVION instance in a web browser from the same machine and using the same Windows user account. If you experience any issues accessing the web interface, contact the NavVis support team for assistance.
Proxy-Server Settings
If you are using a proxy server, the plugin will attempt to automatically detect your proxy settings from your Windows configuration. If this does not work correctly, you can manually specify the proxy server to use by setting the following registry key of type REG_SZ:HKEY_CURRENT_USER\Software\Qbitec\QbitecForRevit\Settings\ProxyUri

It is also possible to switch between the different behaviors on how to resolve the correct proxy with the registry key of type REG_DWORD:
HKEY_CURRENT_USER\Software\Qbitec\QbitecForRevit\Settings\ProxySetting
Possible values are:
| 0 | Default: Try to resolve proxy server settings from windows network settings |
| 1 | Override: Use the proxy server specified by the ProxyUri registry key |
| 2 | No Proxy: Enforce to not use proxy server (e.g. ignore what is returned from windows network settings) |
Since version 1.8.6 it is also possible to specify proxy settings via a json file located at: %localappdata%/QbitecForRevit/proxysettings.json
{
  "ProxyUri": "http:/127.0.0.1:1234",
  "ProxyUsername": "<userid>",
  "ProxyPassword": "<userpassword>"
}
The fields "ProxyUsername" and "ProxyPassword" are optional and can be left out.