
Adding a Point Cloud to a Local Data Source
Point clouds and panoramas can exist in a wide variety of formats. However, most of these formats are optimized for data exchange rather than for efficient processing and visualization.
To add point clouds with its associated panoramas to a local data source they need to be converted into the Qbitec format.
The following wide range of input file formats are supported:
Supported File Formats
| Format | Point Coud | Panoramic Images |
| E57 | yes | from spherical images and from structured scans |
| Las/Laz | yes | does not contain panoramic images |
| Recap® RCP/RCS | yes | (from structured scans) |
| Zoller + Fröhlich ZFS | yes | no |
| Riegl RSP | yes | no |
| Riegl RPP | yes | no |
Workflow
To add / convert a new point cloud into a local data source first open the Insert Point Cloud dialog by clicking on the Insert Point Cloud button in the Qbitec ribbon:
Select the local data source you want to add the point cloud to in the top left combo box:
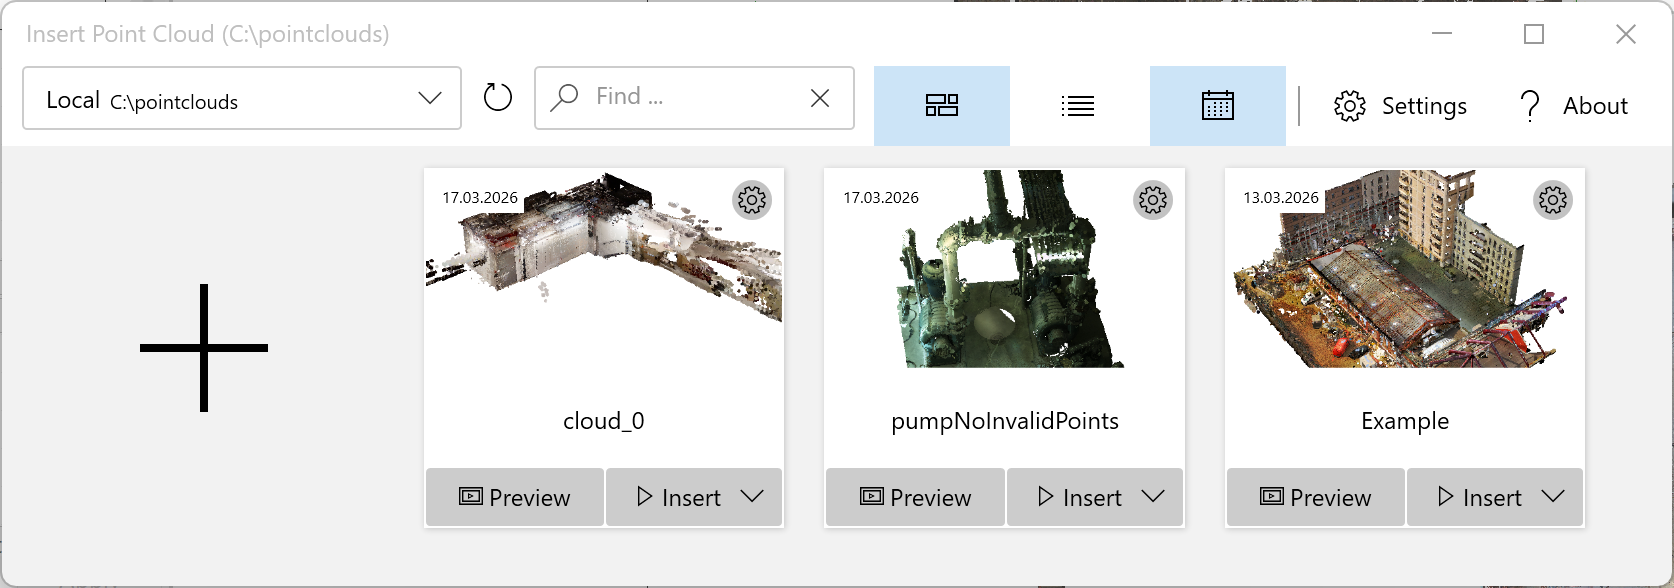
Click on the large '+' Symbol to open the Add a new Point Cloud Wizard.
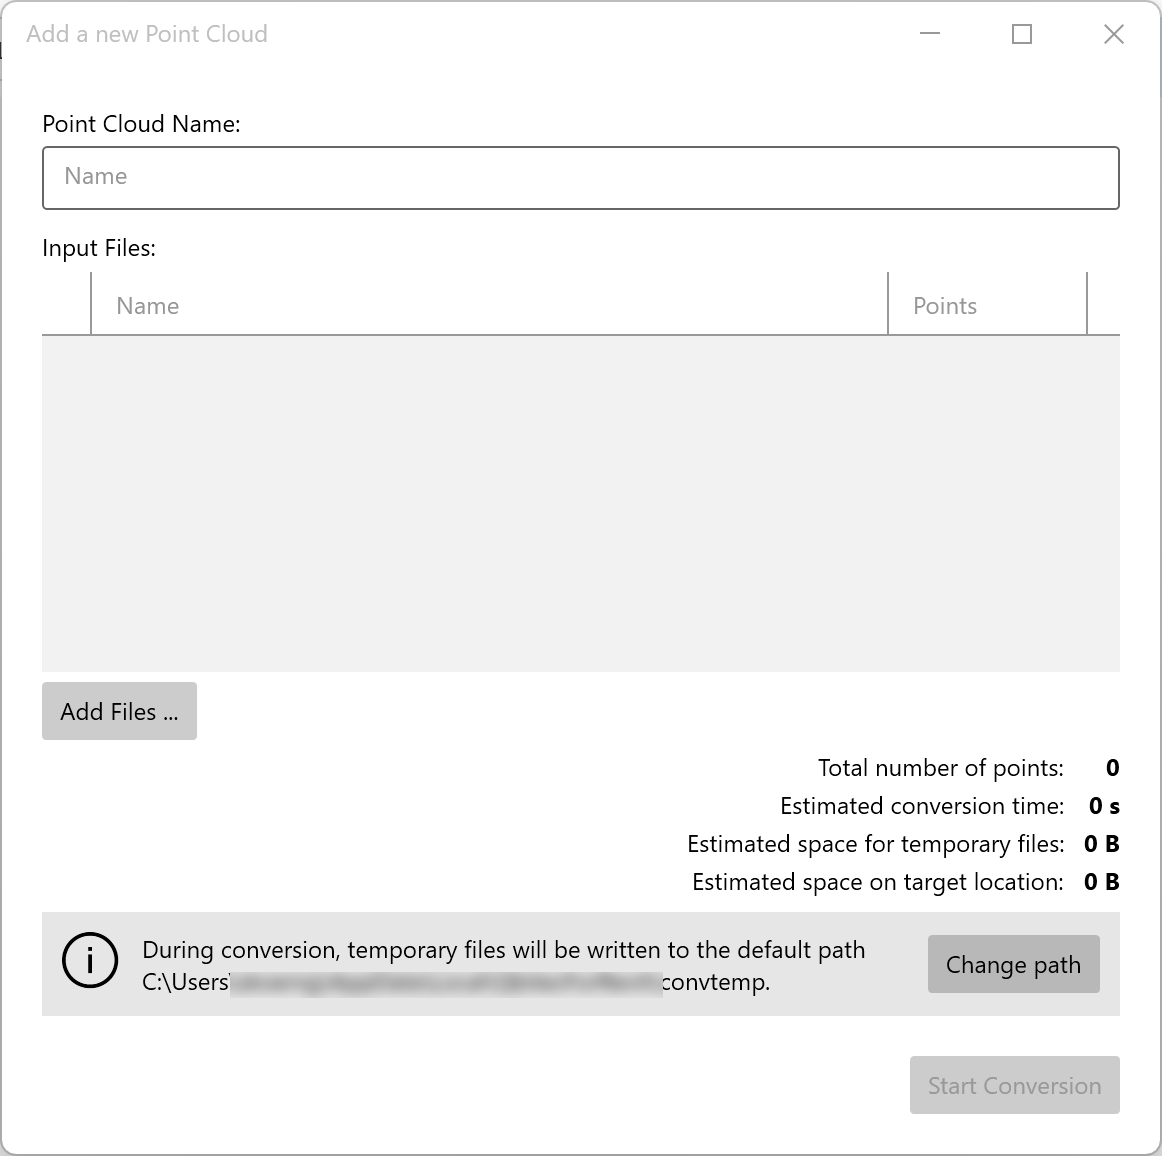
Then add one or more input point cloud files to convert into a single Qbitec point cloud. You
Adding Files:
- Click Add files... to open a file browser
- Select one or more point cloud files (e57, rcp, or other supported formats)
- Repeat to add additional files
- As files are added, the total point count and conversion estimates update automatically
Important Notes:
- All selected source files will be merged into a single point cloud, which is preferable as it can yield better performance. To create multiple separate point clouds, convert files individually.
- Only merge multiple point clouds which are registered to the same reference coordinate system.
Conversion Settings:
- A temporary path for file conversion is automatically set
- Click Change path to change the location if needed
- Ensure sufficient free disk space is available for temporary files (they are removed after conversion)
If you later want to change the path to a different location, this setting can alternatively be found in the Qbitec Settings under Converter Settings: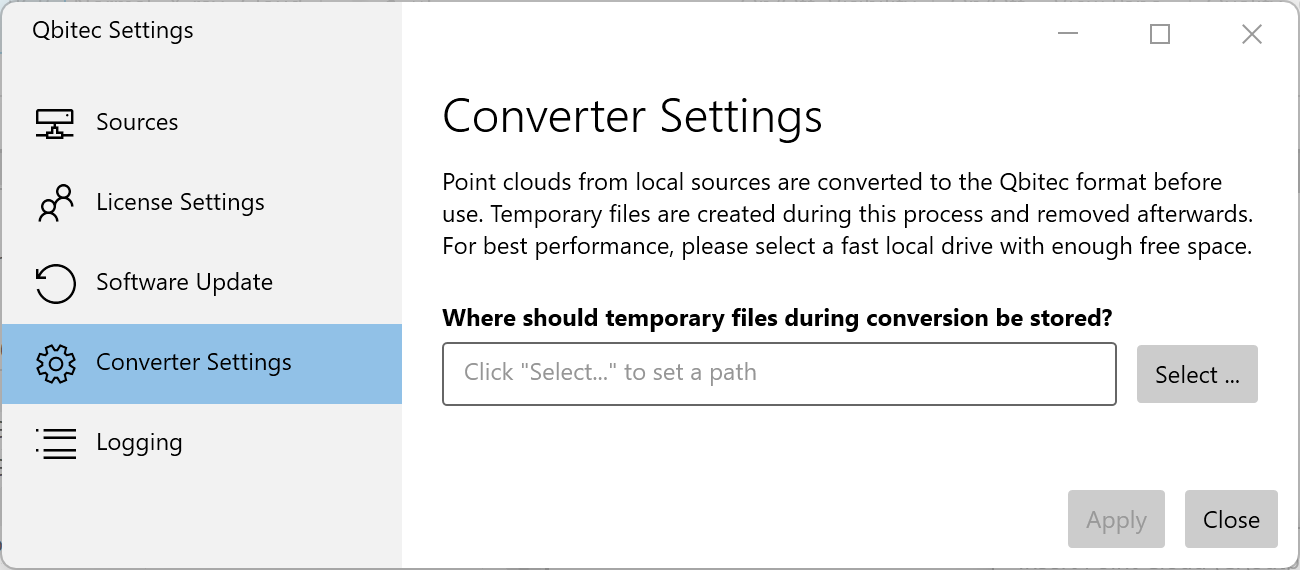
Click Start Conversion to begin processing the files. The conversion runs independently of Revit, allowing you to continue working. You'll receive a notification when conversion is complete.