Adding a Point Cloud to a Local Data Source
Point clouds and panoramas can exist in a wide variety of formats. However, most of these formats are optimized for data exchange rather than for efficient processing and visualization.
To add point clouds with its associated panoramas to a local data source they need to be converted into the Qbitec format.
The following wide range of input file formats are supported:
Supported File Formats
| Format | Point Coud | Panoramic Images |
| E57 | yes | from spherical images and from structured scans |
| Las/Laz | yes | does not contain panoramic images |
| Recap® RCP/RCS | yes | (from structured scans) |
| Zoller + Fröhlich ZFS | yes | no |
| Riegl RSP | yes | no |
| Riegl RPP | yes | no |
Workflow
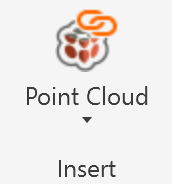
To add / convert a new point cloud into a local data source first open the Insert Point Cloud dialog by clicking on the Insert Point Cloud button in the Qbitec ribbon:
Select the local data source you want to add the point cloud to in the top left combo box:
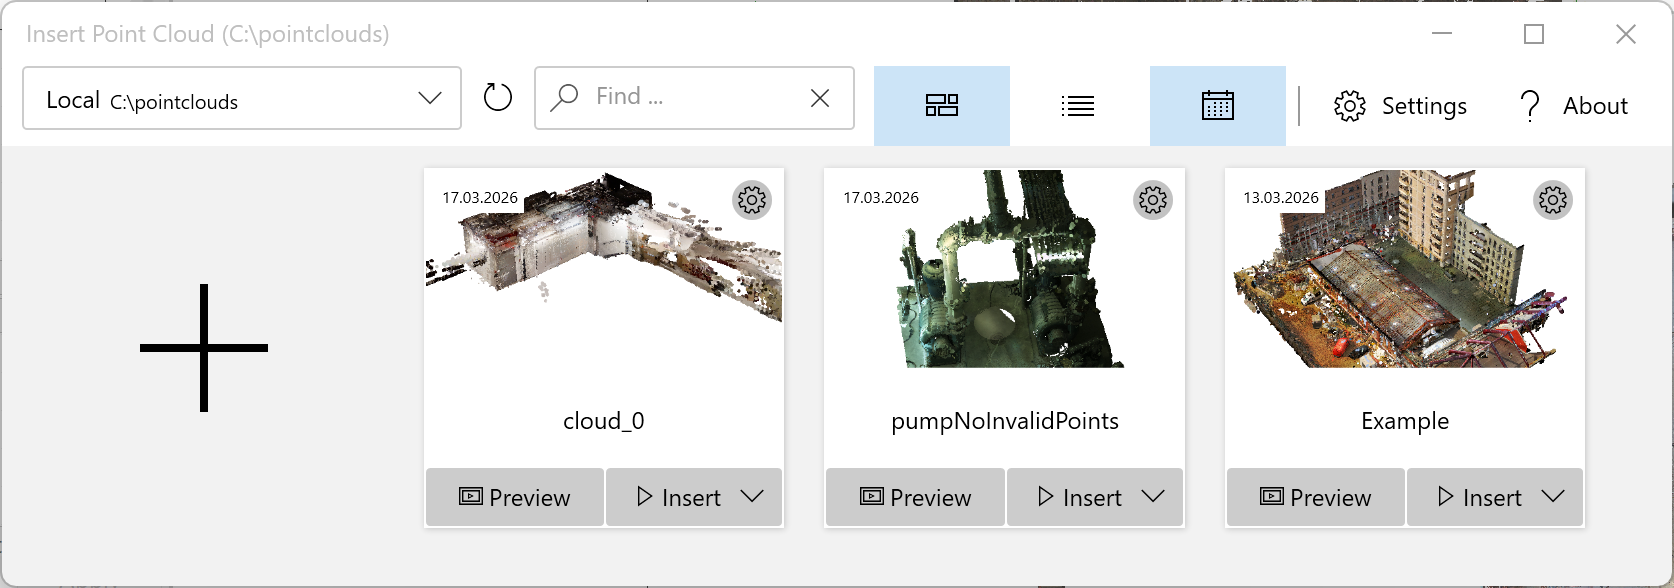
Click on the large '+' Symbol to open the Add a new Point Cloud Wizard.
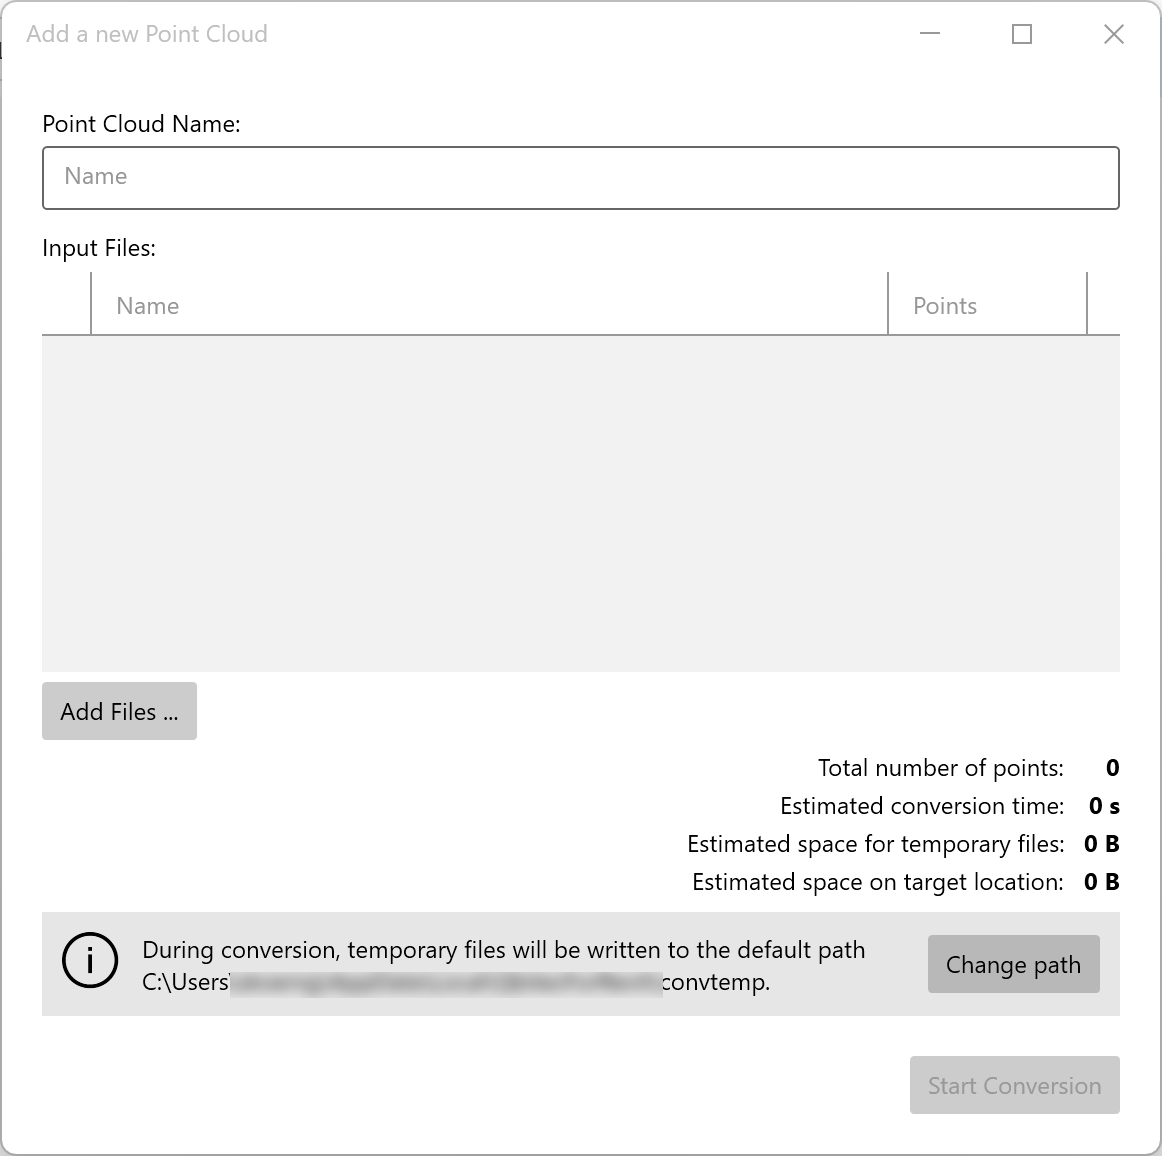
Then add one or more input point cloud files to convert into a single Qbitec point cloud.
Adding Files:
- Click Add files... to open a file browser
- Select one or more point cloud files (e57, rcp, or other supported formats)
- Repeat to add additional files
- As files are added, the total point count and conversion estimates update automatically
Important Notes:
- All selected source files will be merged into a single point cloud, which is preferable as it can yield better performance. To create multiple separate point clouds, convert files individually.
- Only merge multiple point clouds which are registered to the same reference coordinate system.
Choose a Point Cloud Name:
A unique name for the point cloud is automatically generated. If you wish to use a different name, enter it in the Point Cloud Name field before starting the conversion.
Start Conversion:
Click Start Conversion to begin processing the files. The conversion runs independently of Revit, allowing you to continue working. You'll receive a notification when conversion is complete.
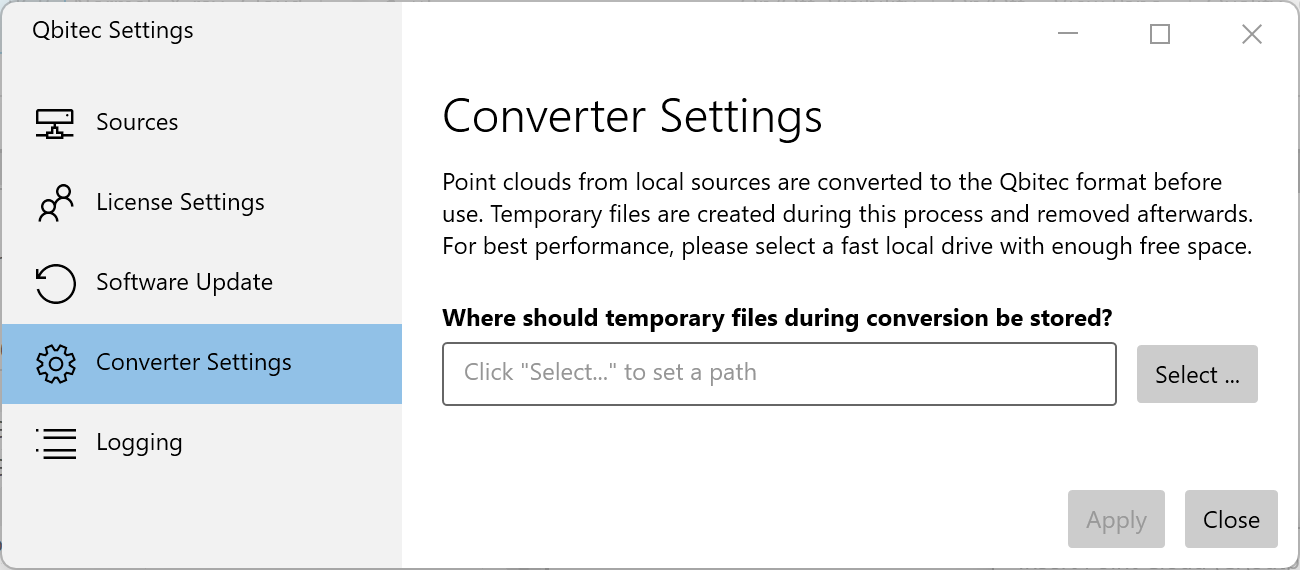
Conversion Settings:
Processing, in some cases, very large point clouds makes it impractical to keep all conversion data entirely in memory. Therefore, the conversion algorithm requires a location where temporary data can be offloaded from memory to disk. This temporary path can be configured and modified in the conversion settings. It is important that this path resides on a fast local drive and provides sufficient storage capacity. After a successful conversion, the temporary data is deleted.
- The initial temporary path for file conversion is set automatically
- Click Change path to change the location if needed
- Ensure sufficient free disk space is available for temporary files (they are removed after conversion)
If you later want to change the path to a different location, this setting can alternatively be found in the Qbitec Settings under Converter Settings: