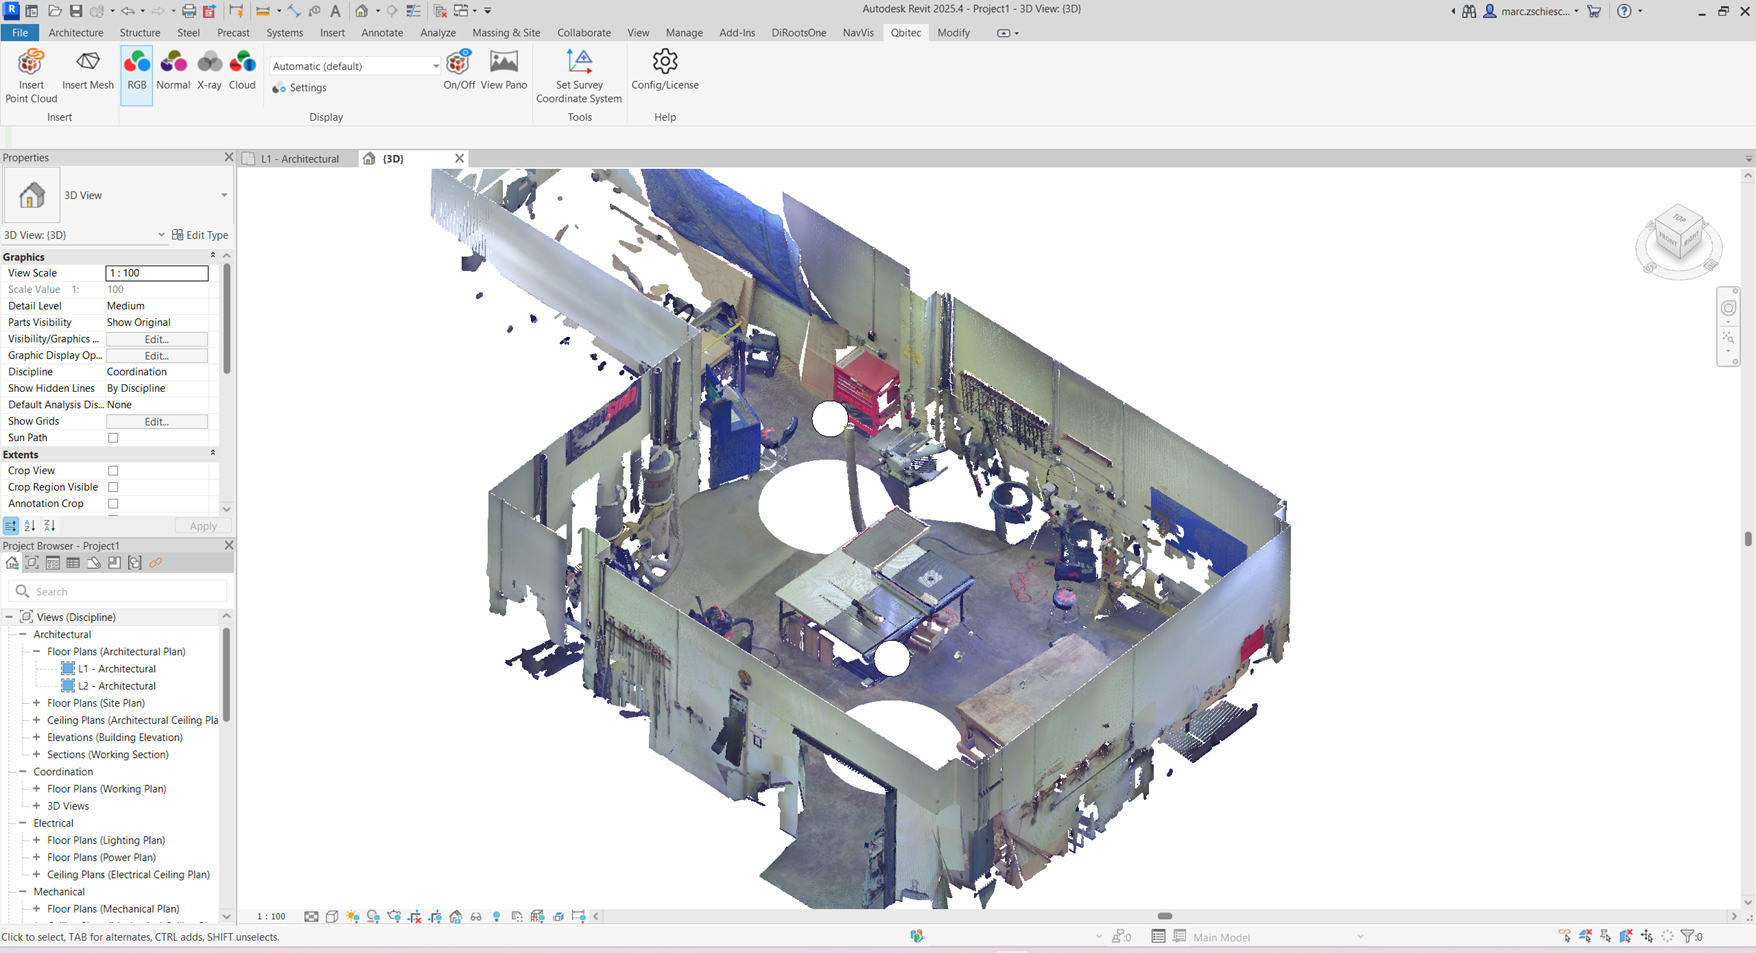
In this tutorial, you will learn how to:
- properly configure the respective components and use Autodesk Construction Cloud® as a data source,
- add point clouds in the format optimized by Qbitec for Revit, and
- share these point clouds via ACC.
You will need:
- Revit® software 2022 - 2026
- Qbitec for Revit (Need a trial license?)
- Access to Autodesk Construction Cloud (this tutorial uses the BIM Collaborate Pro package)
- Autodesk Desktop Connector
If you have access to the Autodesk Construction Cloud, you also have access to the Autodesk Desktop Connector app. It serves as the central interface for data management between the Autodesk Construction Cloud and your PC. A shared folder might look like this:
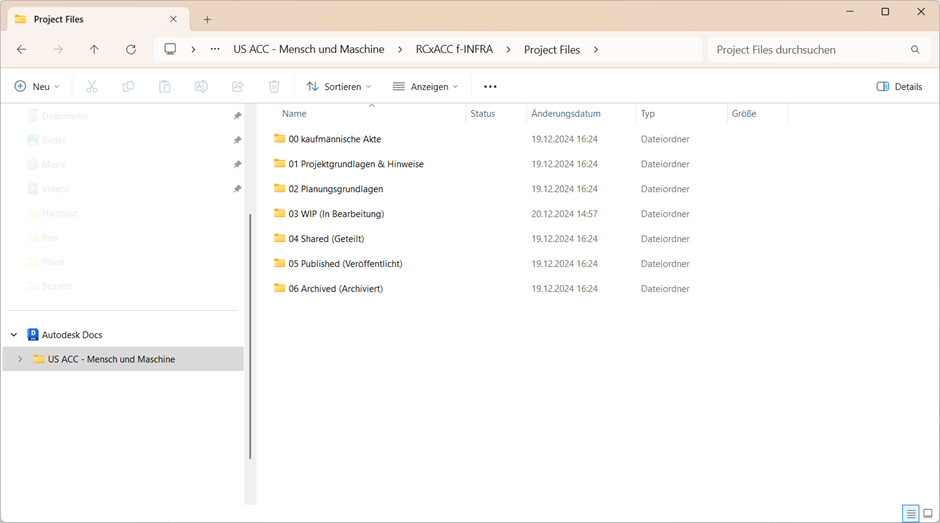
The project folder begins synchronization as soon as the Autodesk Desktop Connector app is launched. The following icons are relevant:
| File is available online only | |
| File is syncing | |
| File is available locally |
When working with Qbitec for Revit, synchronization is automatically managed in the background by the Autodesk Desktop Connector app. Only for particularly large files should you allow extra time in your workflow for the upload and download of data packages. The Qbitec format supports you with high, lossless compression, cutting synchronization time in half compared to working with Recap data.
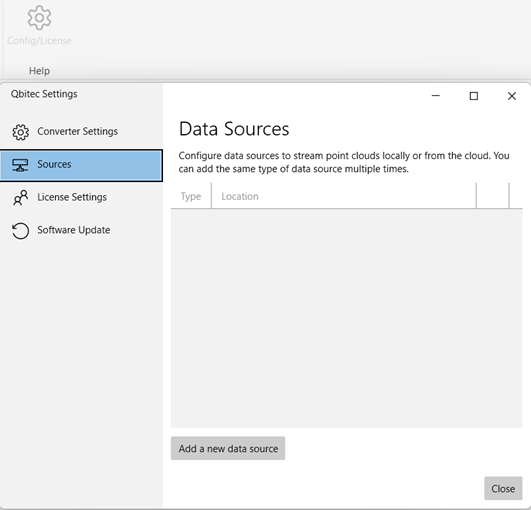
To link Qbitec for Revit with the Autodesk Construction Cloud, create a new folder and set it as the source path. Proceed as follows:
- Create a new folder within the ACC-synchronized folder structure. This is where the point clouds in Qbitec format will later be stored.
- Install the latest Qbitec for Revit plugin, start Revit and open a project.
- In the settings ("Config/License") of the Qbitec for Revit app, go to the "Sources" category and add a new source path using the "Add a new data source" button.
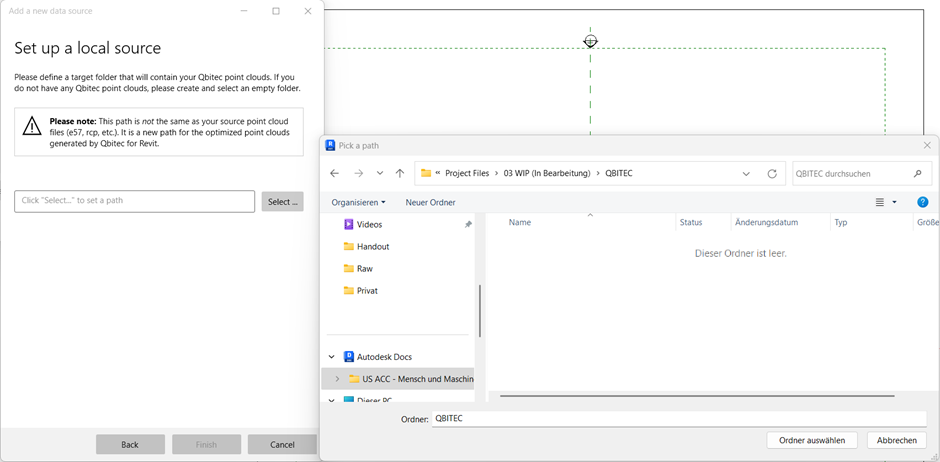
- Select "Local or Network" as the source type and choose the folder you created earlier. Confirm the creation of the new data source by clicking "Finish."
You can now start creating new point cloud projects in the Qbitec format from your source point clouds.
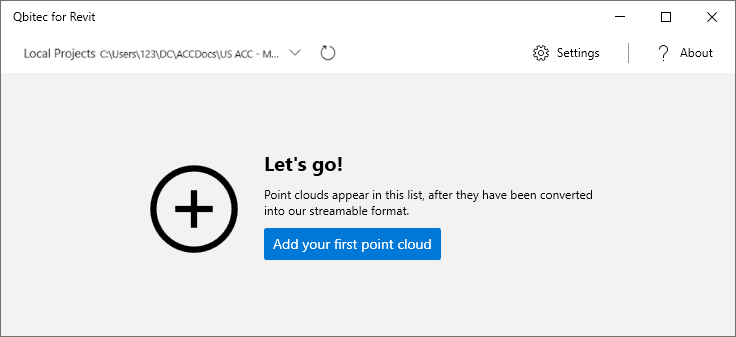
To use a point cloud, it must first be optimized and written to the project folder shared via the Construction Cloud. After setting the appropriate target path in Step 1 of this tutorial, go to the "Insert Point Cloud" button in Qbitec for Revit. The project selection window will open (still empty at this point). Click on "Add your first point cloud."
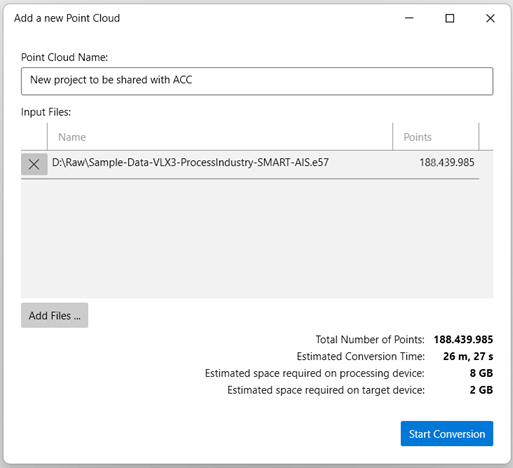
Next, assign the desired project name, select one or more source files (e.g., RCP or E57), and start the optimization process by clicking the "Start Conversion" button.
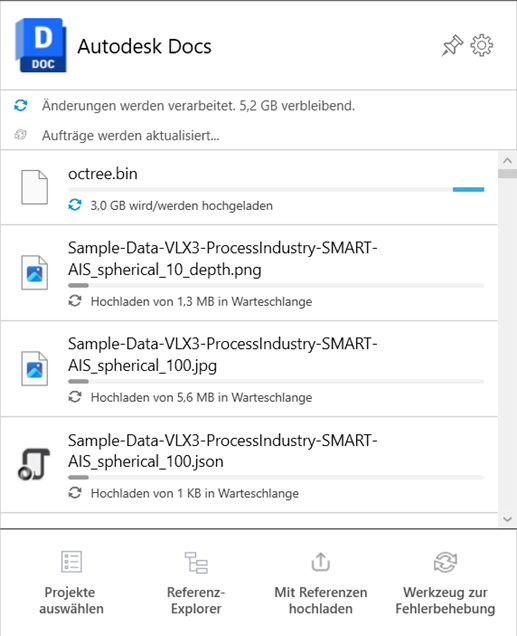
The optimized data is now written to the target folder and automatically synchronized to the Autodesk Construction Cloud via the Autodesk Desktop Connector app.
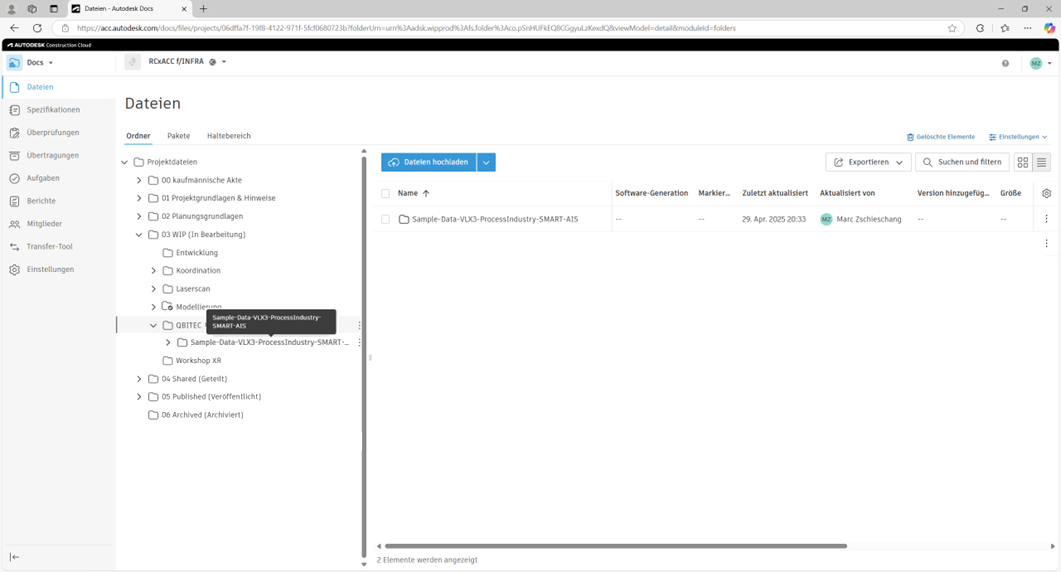
After the upload, the dataset is available in the Autodesk Construction Cloud and can be shared with your team members.
Now, other people in your organization can work on the same data basis. For this, the Autodesk Desktop Connector must also be installed on their side, and the folder must be shared with them.
If others have write access to the shared folder, they can also add point cloud projects, which will then be available to everyone.
To insert a dataset, go to the Qbitec tab in Revit, click the "Insert Point Cloud" button, and insert it into the Revit project using the "Insert" button.
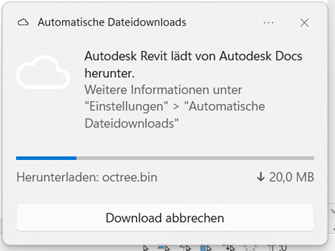
If the dataset has not yet been fully synchronized from the Autodesk Construction Cloud to the PC, the point cloud will first be synchronized and then inserted. The Autodesk Desktop Connector app will display the synchronization progress.
You can now begin working collaboratively with the point cloud.
