In this tutorial you will learn how to
- Download and install the Qbitec plugin for Autodesk® Revit® software,
- Activate the plugin with your license data,
- Connect a NavVis IVION data source, and
- Insert a NavVis point cloud into a Revit project
Step 1: Download and Install Qbitec for Revit

- Grab the newest version from the download page: https://qbitec.com/Download by clicking "Download the latest version"
- Close the Revit® software if you have it open
- Run the installer QbitecSetup-x.x.x.exe
- Follow the installer instructions
Step 2: Activate your License

- Start Revit
- Open an existing project or start a new project
- Look for the Qbitec tab to access the Qbitec ribbon
- On the "Qbitec Ribbon" click the button "Config/License"

- A dialog will ask you for an e-mail address and password.
- Enter your license credentials
- Click "Activate"
Need a license? If you do not have a license, you can get a free and non-binding trial here: Get Your Trial
Step 3: Add a NavVis Data source

- Still within the dialog "Qbitec Settings" switch to the panel "Sources".
- You see an (empty) list of data sources. On the lower left click "Add a new data source".

A new dialog opens. Click "NavVis" to start the setup wizard.

- Enter the URL of your NavVis instance into the text box.
- Click "Verify" next to the text box
- Once the verification is successful, the button "Next" becomes available
- Click "Next" to proceed to the next step.

An embedded web browser will open to lead you through the NavVis login process.
Please Note: The login happens entirely within this browser window and is processed exclusively by NavVis servers. The Qbitec plugin is not able to read or store your user credentials in any form. After the NavVis servers processed the login, a short time user token is sent to Qbitec for Revit for read access to the projects.

After entering your credentials the next page of the setup wizard will automatically activate to inform you about the successful login. Click "Finish" to complete the setup.
Step 4: Insert a point cloud project

- In the "Qbitec" ribbon inside Revit, click "Insert Point Cloud"

- In the top left corner of the overview window, make sure that the NavVis source is selected. If it is not selected, click the down-arrow next to the source name and select the NavVis source.
You see a list of all your NavVis projects with three options:
- "Show Scans" to browse the site's structure
- "Preview" to open a 3D preview window that shows all scans in an interactive viewer
- "Insert" to proceed to the site element selection, allowing you to narrow down the point clouds you wish to insert.
Clicking "Insert" reveals a menu with these options:
- "Center to Center": Place the point cloud center at the project center
- "Origin to Internal Origin": Place the point cloud's origin at the origin of the internal coordinate system
- "By Shared Coordinates": Place the point cloud according to its site or geo coordinate system
By default, the point clouds are assumed to exist in the NavVis Site Coordinate System. If your data is georeferenced, you can check the box "Use Spatial Reference System" to use its georeferences instead.

Clicking "Insert" allows you to further refine your selection according to the building structure, that you have set up in NavVis IVION.
Project nodes, buildings and floors can be expanded using the arrow next to their names. Selecting a node of a project, a building or a floor automatically selects all contained elements, including the point clouds.
Please note: Point clouds can belong to more than one structure element. For example, a single point cloud can belong to two or more floors. Selecting such point cloud automatically selects all floors, that the point cloud is part of.
You can click the eye button next to a point cloud to see an interactive preview.
Once you have made your selection, click "Insert" to add the point clouds into the Revit project.
Be careful when inserting a full project with more than 50 point clouds, as Qbitec for Revit is laid out to handle a small number of big point clouds.
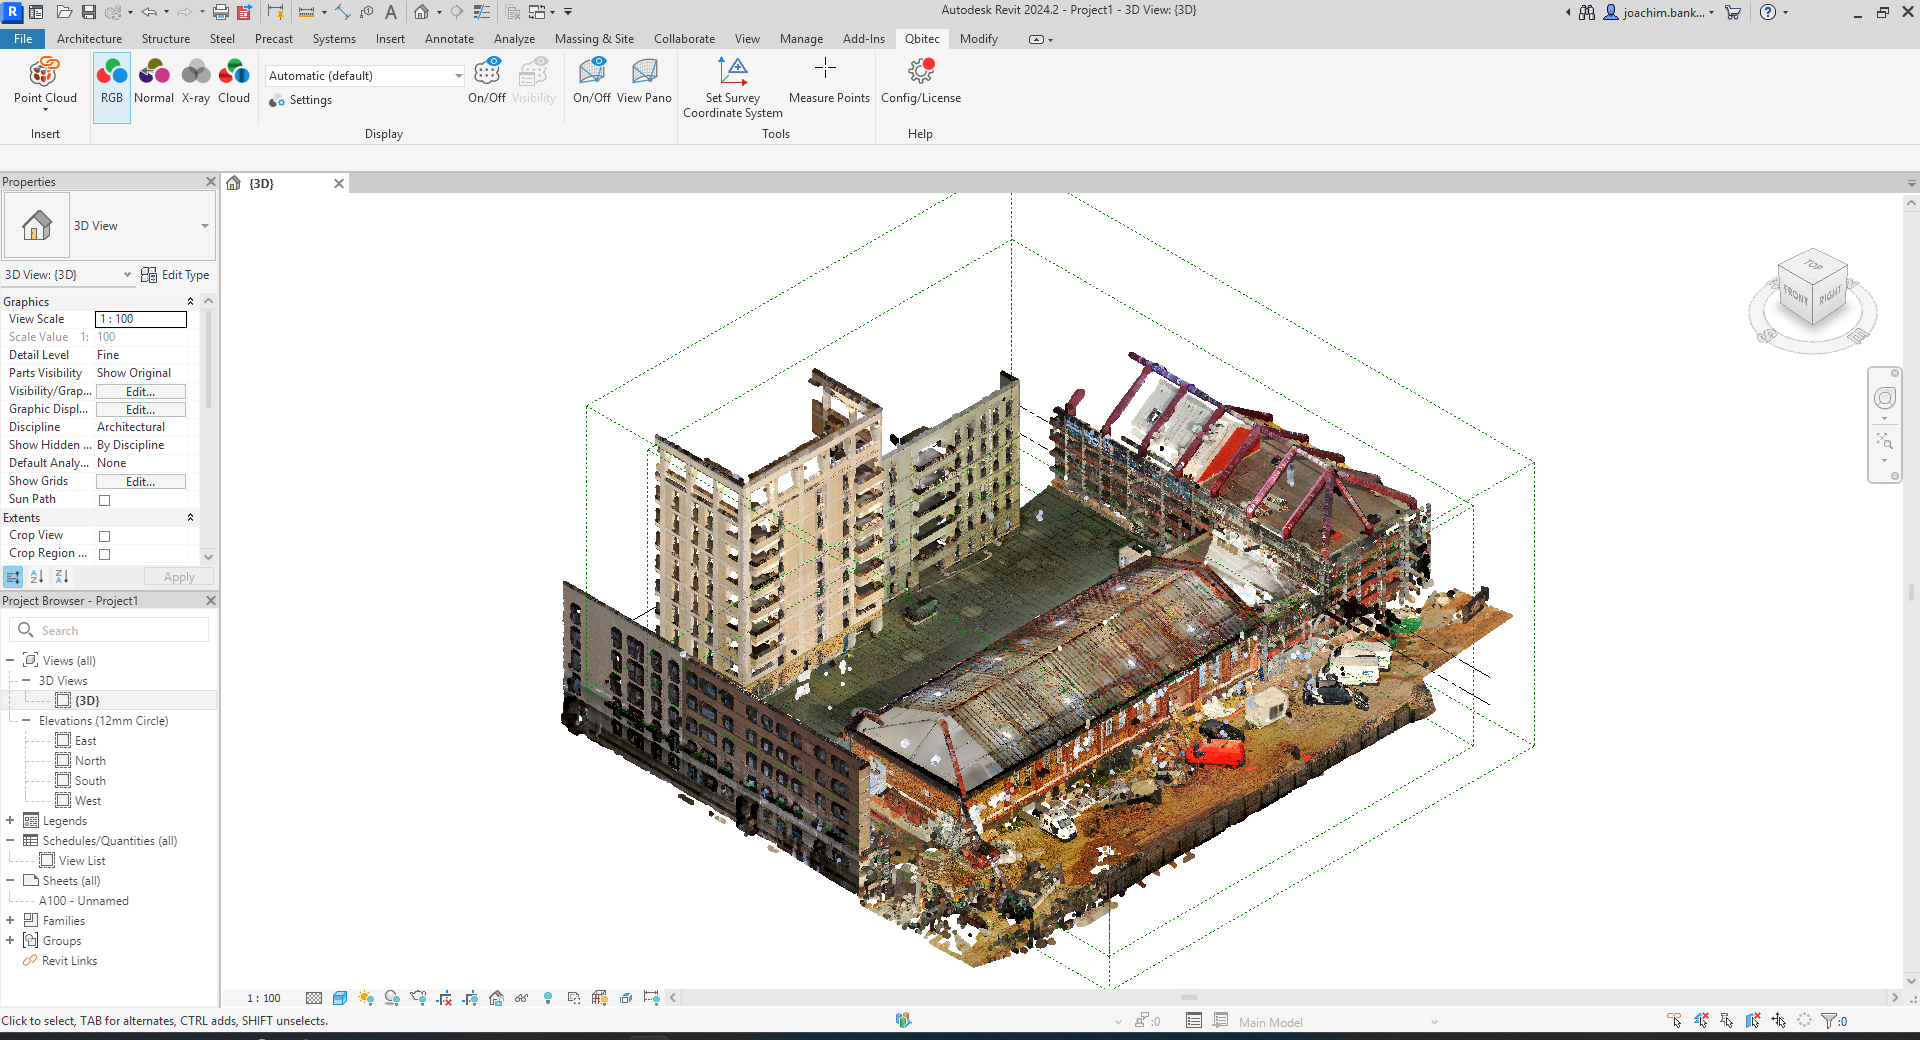
Well done!
And there you have it - your first point cloud directly from NavVis in Revit! If you have any questions, please reach out to us via support@qbitec.com.